No products in the cart.

Understanding the Installation Process for Gabion Retaining Walls
A step-by-step guide to properly installing gabion retaining walls for long-lasting results.
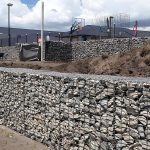
Gabion retaining walls are an excellent solution for managing soil erosion and providing structural support. These walls, made from wire mesh filled with rocks or stones, offer durability, aesthetic appeal, and environmental benefits. Whether you’re planning a landscaping project or need a functional solution for soil retention, understanding the installation process is crucial for achieving long-lasting results. Here’s a step-by-step guide to help you through the installation of gabion retaining walls.
Step 1: Planning and Design
Before beginning the installation, proper planning is essential. Determine the purpose of the gabion wall, the desired height, and length, and consider the local soil conditions. Conduct a site survey to assess any potential drainage issues and ensure the wall will fit seamlessly into the landscape. It’s also advisable to check local building codes and regulations, as some areas may have specific requirements for retaining walls.Step 2: Gather Materials and Tools
Once you have a design in place, gather the necessary materials and tools. You’ll need:- Gabion baskets: Available in various sizes and shapes, choose ones that suit your design.
- Filling material: Select appropriate rocks or stones. The size and type of stone can affect the wall’s stability.
- Geotextile fabric: This fabric helps prevent soil from washing through the gabions while allowing water drainage.
- Tools: You’ll need a shovel, a level, a tamper, and possibly a wire cutter.
Step 3: Prepare the Site
Clear the area where the gabion wall will be installed. Remove any vegetation, debris, or loose soil. Excavate the foundation area to create a level base, ensuring the depth is appropriate for the height of your wall. A common recommendation is to dig down at least one foot deep for stability. Once the area is excavated, compact the soil to create a solid foundation.Step 4: Install the Geotextile Fabric
Lay down the geotextile fabric along the back of the excavation. This fabric will help prevent soil erosion and ensure that the soil remains behind the gabion wall. Make sure the fabric extends beyond the wall’s width for effective drainage.Step 5: Assemble the Gabion Baskets
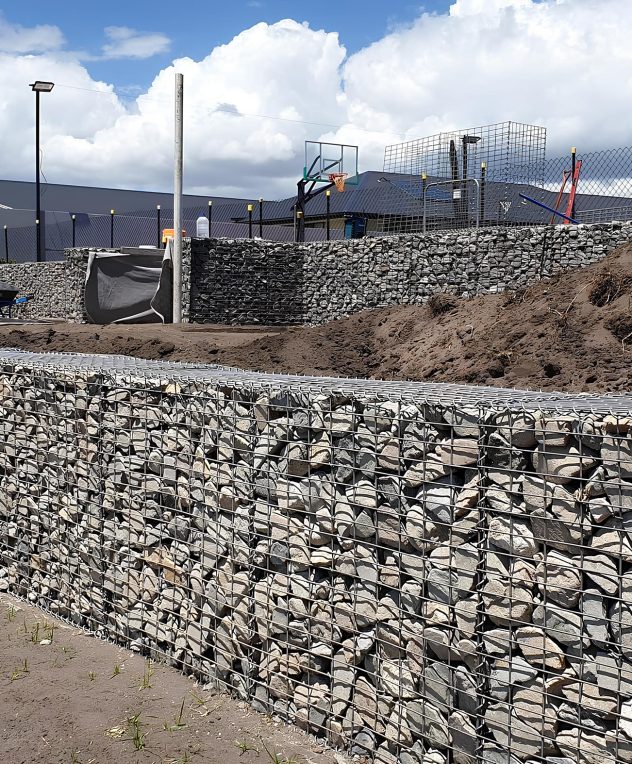
Assemble the gabion baskets according to the manufacturer’s instructions. Ensure that they are securely connected and positioned in the desired location. If you’re building multiple layers, be sure to stagger the joints for added strength.Step 6: Fill the Gabion Baskets
Begin filling the gabion baskets with your chosen stones or rocks. It’s important to pack the stones tightly to prevent shifting over time. Use larger stones at the bottom for stability and smaller stones on top to fill gaps. Ensure that the fill material is well-distributed and that the baskets are filled evenly.Step 7: Secure the Gabion Baskets
Once filled, secure the baskets by closing the lids. Use wire ties to secure the baskets tightly, ensuring they hold their shape and fill. It’s crucial to check that the baskets remain level during this process.Step 8: Backfill and Compact
After securing the gabion baskets, backfill the area behind the wall with soil, compacting it as you go. This will enhance the wall’s stability and support its structure. Ensure the soil is packed tightly to prevent settling over time.Step 9: Final Touches
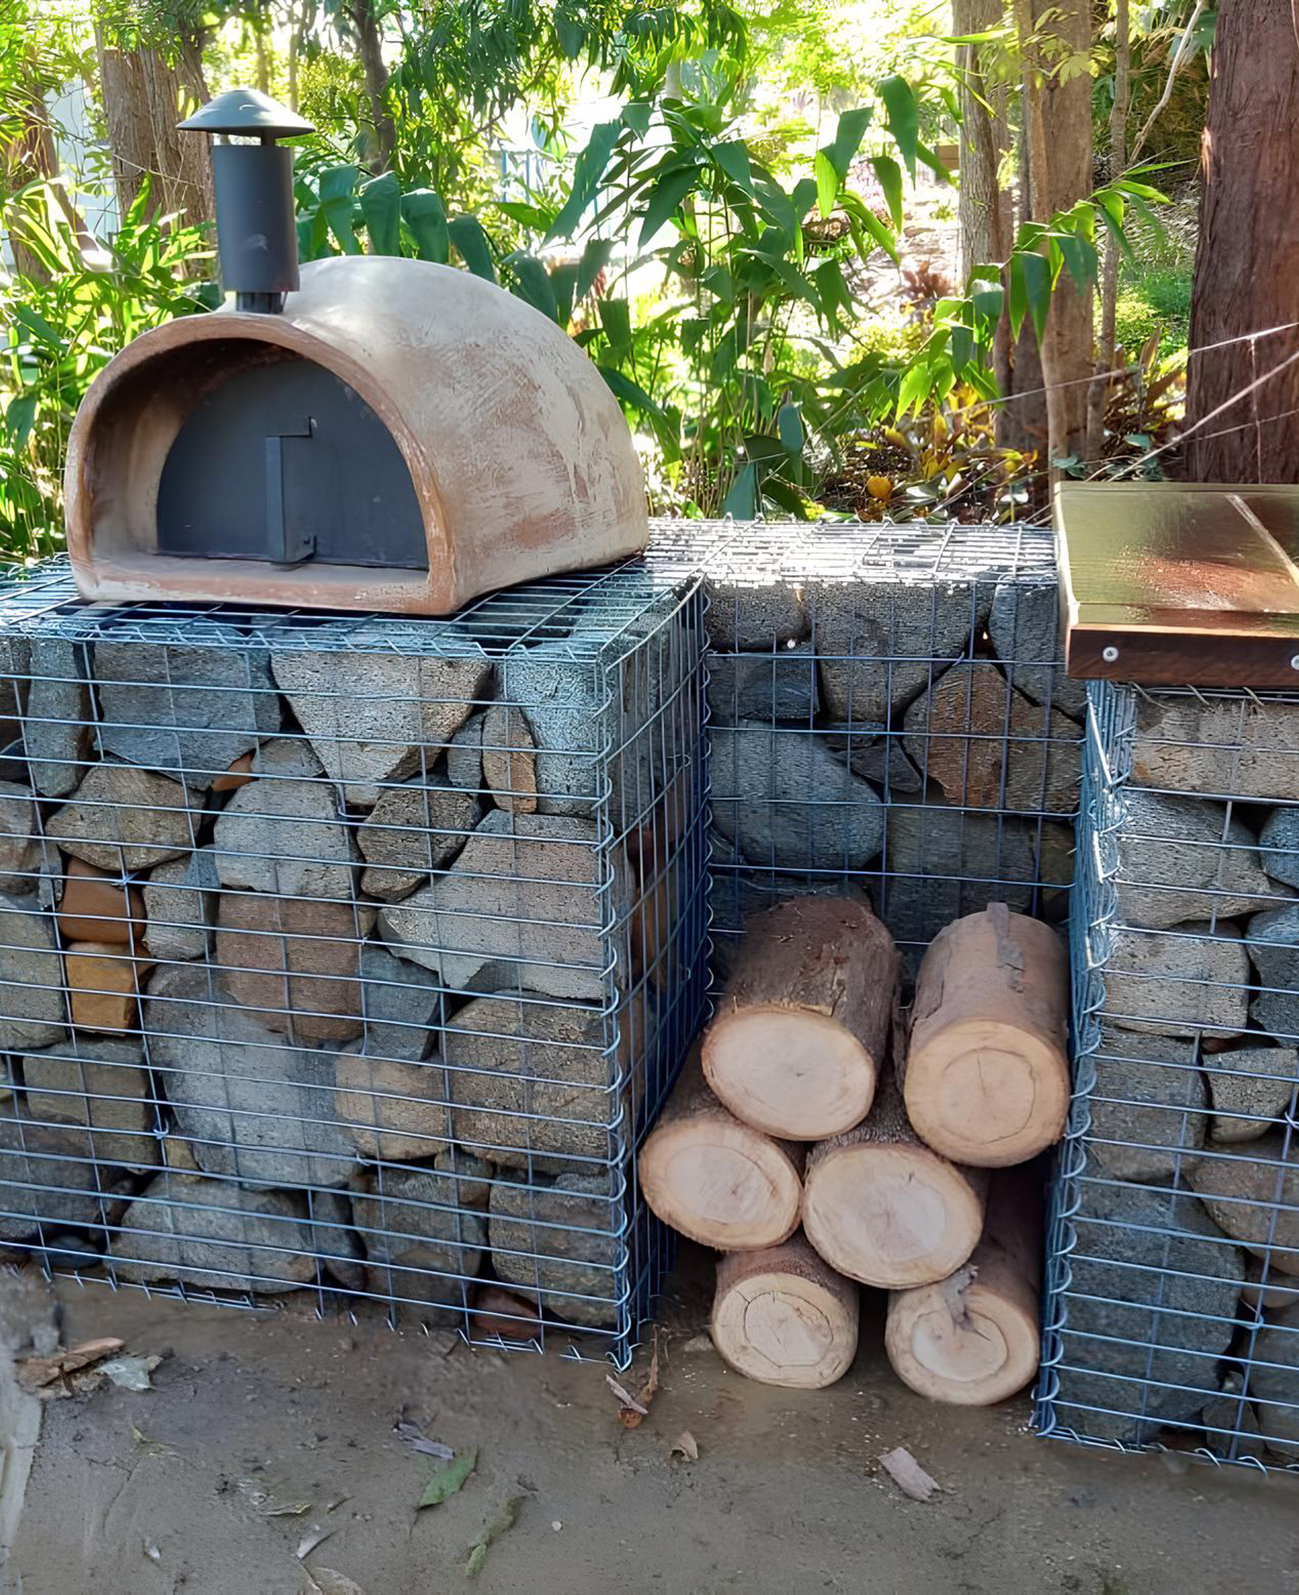
Once the installation is complete, add any desired landscaping elements, such as plants or decorative rocks, to enhance the appearance of the gabion wall. Regular maintenance checks will help ensure the longevity and effectiveness of your retaining wall.Conclusion
Installing a gabion retaining wall may seem daunting, but with careful planning and execution, it can be a rewarding project. These walls offer not only structural support but also an attractive addition to your landscape. By following this step-by-step guide, you’ll ensure a sturdy and aesthetically pleasing result that stands the test of time.